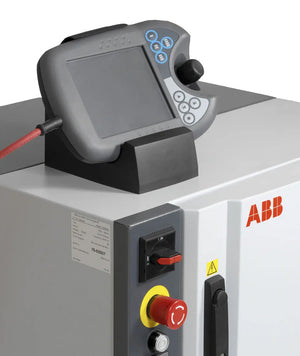
ABB FlexPendant Keyboard Replacement Complete Video Repair Guide
10 Simple Steps to Replace ABB Teach Pendant Keyboard
inRobots Repair Video Guide #2
Product Introduction:
Part no#: 3HAC028357-001 Keypad
ABB Type Designation: 10m
ABB Description: ABB teach pendant keypad for DSQC679
Application: ABB Robot IRC5C Compact Controller
Brief Repair instruction:
Step 1 Open the back cover of the teach pendant; Step 2 Take out teach pendant parts; Step 3 Removing the teach pendant Keypad soft wire; Step 4 Tear off the keypad of teach pendant; Step 5 Install the new keypad; Step 6 Put the keypad soft wire; Step 7 Install the teach pendant parts; Step 8 Lock the back cover up; Step 9 Install teach pendant cable; Step 10 Lock the teach pendant cover up.
Difficulty: Medium
Steps:10
Time Required: 30mins~45mins
Step 1 Open the back cover of the teach pendant
Before opening the back case, we need to take out the Teach Pendant cable. If you don't know how to take it, please watch the last video. Link here
There are 6 screws on the Flex pendant back shell, just take them off one by one.
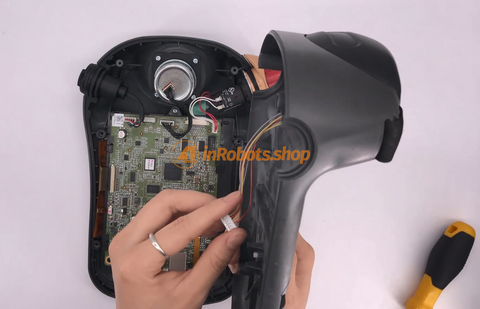
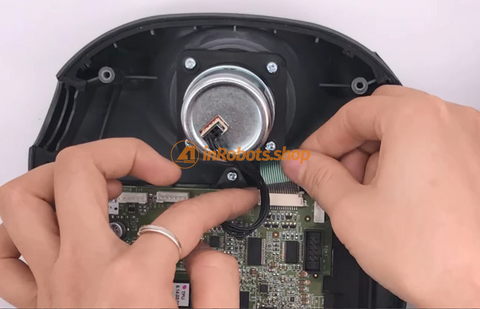
Step 2 Take out teach pendant parts
Emergency stop switch (CE3T-10R-02) and other parts
Taking care a wire which connected to the motherboard, when opening the Back shell,
Carefully pull out all the wires, When taking out the emergency stop switch, USB port etc
Step 3Removing the flex pendant DSQC 679 Keypad soft wire
You need to gently push out the clasp first. But can't directly pull out the keypad membrane, because the soft wire is fixed by the clasp.
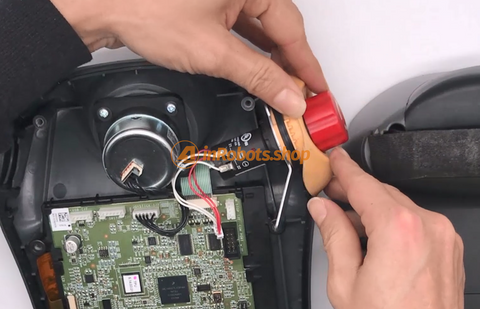
Step 4 Tear off the keypad of teach pendant DSQC 679
You need to use a screwdriver or someting to open it. becuase the keypad is very stable, and difficult to tear down by hand.
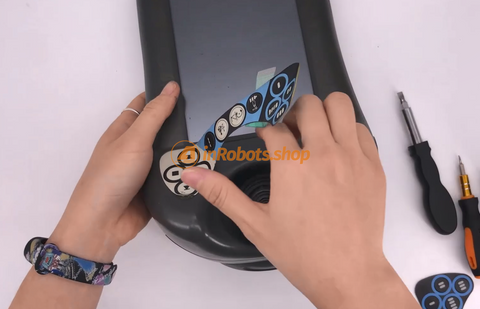
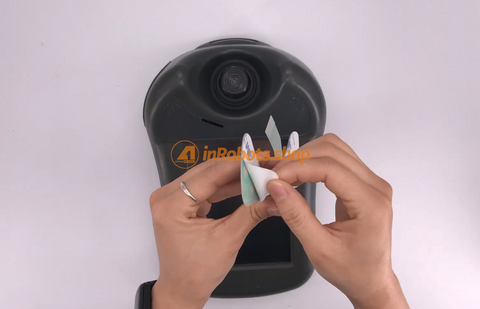
Step 5Install the new keypad
Frist tear off the keypad bottom protective paper
The ABB teach pendant has a small hole for the keypad soft wire,
Just put the soft wire through the hole, and then stick the keypad on the front of teach pendant.
Step 6Put the keypad soft wire cable
After you put the keypad soft wire back, don't forget to push the slot back to the original position to fix the keypad soft wire.
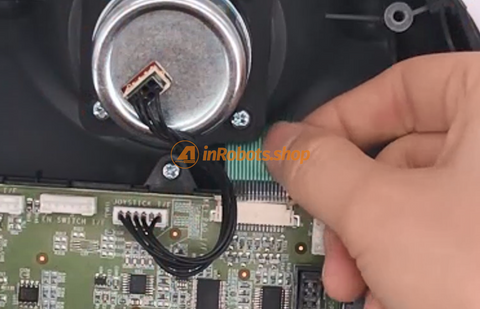
Step 7 Install the teach pendant parts
First, install the USB interface, emergency stop switch in the fixed position.
Each part has a line connected to the abb teach pendant motherboard, the socket of each line is different, so don't worry about inserting the wrong position.
Step 8 Lock the back cover up.
After all the parts are installed, if the two shells are not tightly connected, please check if the emergency stop switch is not installed in place.Then lock the six screws back.
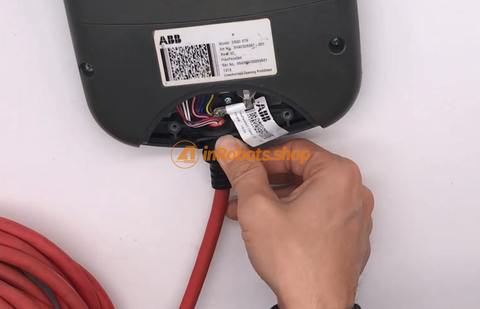
Step 9 Install teach pendant cable
Put the two connectors (data cable and network cable) back in place.
Then put the cable head in place and fix it.
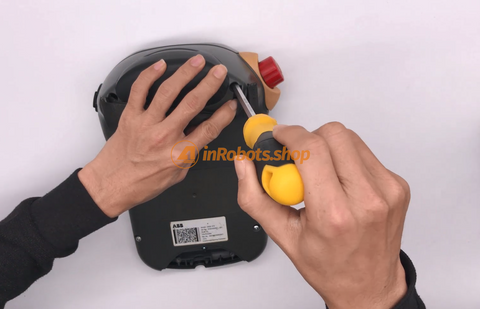
Step10 Lock the teach pendant cover up
Lock the teach pendant cover up.
For ABB teach pendant keypad and repair kit, just link below to know more.
inRobots.shop is not an authorized distributor or representative of the manufacturers featured on this website. Designated brand names and trademarks on this site are the property of their respective owners.


Comments
Leave a comment on this topi